[youtube https://www.youtube.com/watch?v=rsXDaDTnR_0&w=560&h=315]
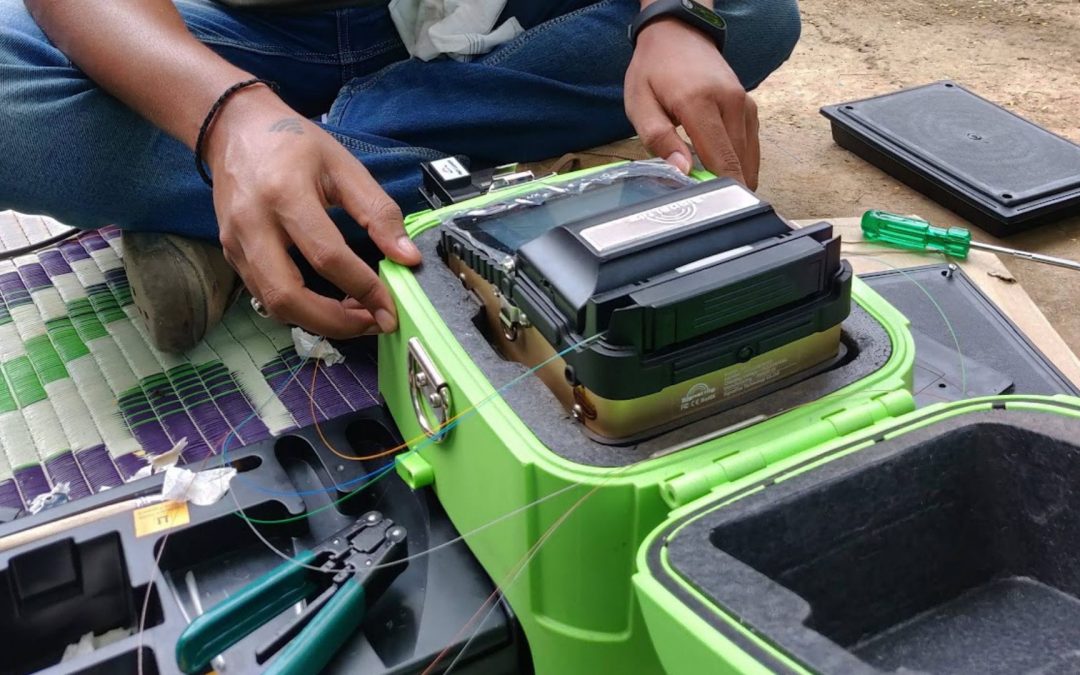
In this video we show you how to join two fiber cables. We have also but a written guide below.
Guide: How to Join Two Fiber Cables
Materials Needed:
- Two fiber optic cables
- Fiber optic connectors (matching cable types)
- Fiber optic cleaver or precision fiber cutter
- Fiber optic stripper or precision wire stripper
- Fiber optic polishing film or pre-polished connectors
- Fiber optic cleaning wipes or lint-free cloth
Steps:
- Preparation:
- Ensure both fiber cables are clean and free from dust or debris. Use fiber optic cleaning wipes or a lint-free cloth to gently clean the cable ends.
- Verify that the fiber cables have compatible connector types (e.g., SC-to-SC, LC-to-LC) to ensure a proper fit.
- Stripping the Fiber Cables:
- Use a fiber optic stripper or precision wire stripper to carefully remove the outer jacket from each fiber cable. Take care not to damage the fibers inside.
- Strip the protective buffer coating from each fiber, revealing the bare glass core and cladding. Avoid any nicks or scratches during this process.
- Cleaving the Fibers:
- Utilize a fiber optic cleaver or precision fiber cutter to make a clean, perpendicular cut at the end of each fiber. A precise cleave is essential for a low-loss connection.
- Polishing (for Regular Connectors):
- If you are using regular connectors (not pre-polished connectors), polishing the fiber ends is necessary for better light transmission.
- Follow the connector manufacturer’s instructions for polishing. Typically, a polishing film is used to achieve a smooth and even finish on the fiber ends.
- Pre-Polished Connectors (Alternative Option):
- Some connectors come with pre-polished fibers, eliminating the need for on-site polishing.
- Carefully follow the manufacturer’s instructions for terminating the fibers into the pre-polished connectors.
- Assembling the Fiber Ends:
- Align the prepared fiber ends of each cable with their corresponding connectors. Be cautious not to touch the exposed fiber ends with your fingers to avoid contamination.
- Epoxy Adhesive (if using regular connectors):
- For regular connectors, apply a small amount of epoxy or anaerobic adhesive to the connector’s ferrule.
- Carefully insert the prepared fiber end into the connector, ensuring it is centered and correctly aligned.
- Curing (if using epoxy adhesive):
- If using epoxy adhesive, place the connector with the inserted fiber into a fiber optic curing oven, following the curing time and temperature specified by the epoxy manufacturer.
- Testing:
- After the adhesive has cured (if applicable), perform a visual inspection of the connector to ensure a clean, well-aligned connection.
- Optionally, use a fiber optic power meter and light source to check for proper light transmission and low signal loss.
By following these steps, you can successfully join two fiber cables. Always handle fiber optic cables with precision and cleanliness to ensure a reliable and high-quality connection. Seek assistance from a professional fiber optic technician if you are uncertain about any step in the process.

